
Setting up a dedicated charging station for your devices can simplify your daily routine, reduce clutter, and keep all your gadgets powered and ready to use. Whether at home or in the office, a well-organized charging station helps you manage cords, save space, and protect your electronics from damage. In this post, we’ll guide you through everything you need to create an efficient charging station tailored to your needs.
Why Set Up a Charging Station?
Many people charge their phones, tablets, laptops, and other devices in different places, which can lead to misplaced chargers, tangled cords, and cluttered spaces. A dedicated charging station:
– Centralizes device charging in one spot
– Protects devices by using proper chargers and avoiding overloading sockets
– Minimizes cable clutter with better organization
– Saves time by knowing exactly where to charge your gadgets
Step 1: Choose the Right Location
The first step is selecting the best spot for your charging station. Consider:
– Accessibility: Place it where you spend most time (like living room, kitchen counter, or desk).
– Power Sources: It should be near enough power outlets.
– Ventilation: Charging devices produce heat, so avoid enclosed or overly warm areas.
– Safety: Keep away from water or heat sources, and out of reach of small children if possible.
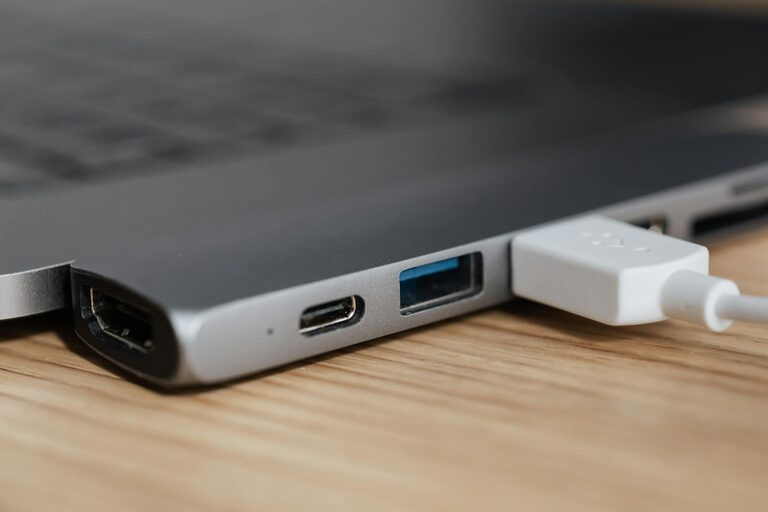
Step 2: Gather Your Charging Equipment
Depending on how many and what types of devices you have, collect the following items:
– Power strips or surge protectors: Opt for ones with USB ports to charge multiple devices at once.
– Charging cables: Keep the right cables for your devices handy; consider cable management tools.
– Charging docks or stands: These help hold devices upright and organized while charging.
– Labels or tags: For multiple similar-looking cables, labeling can help identify the correct charger quickly.
– Storage containers or trays: Use small boxes, baskets, or trays to keep cables and adapters neat.
Step 3: Organize Your Devices and Cables
With your equipment ready, it’s time to organize:
Sort Devices
Group devices by type or charging needs. For example, put smartphones together, tablets in one spot, and e-readers aside.
Untangle and Arrange Cables
Avoid tangled cables by using:
– Cable ties or Velcro strips to bundle excess cord length
– Cable clips or holders to keep cables in place on surfaces
– Cord sleeves to group multiple cables together for a cleaner look
Label Cables and Ports
Labeling cables or corresponding ports on a power strip can save confusion, especially if multiple people use the station.
Step 4: Set Up the Physical Station
Use Charging Docks or Stands
These accessories hold your devices upright, preventing them from sliding or stacking on top of each other, which can cause scratches or overheating.
Position the Power Strip or Charger
An elevated shelf, desk, or countertop works well. Secure the power strip so it doesn’t move around and keep it close enough to devices so cables reach comfortably.
Contain Loose Items
Use a small tray or basket to keep chargers and spare cables in one spot. This also helps in preventing dust buildup.
Step 5: Maintain Your Charging Station
To ensure your station remains efficient:
– Regularly check cables for wear or damage.
– Clean the station to remove dust.
– Rotate cables if some are rarely used to avoid deterioration.
– Update equipment as devices change or new gadgets are added.
Additional Tips for an Effective Charging Station
– Consider wireless chargers for compatible devices to reduce cable clutter.
– Use a charging timer or smart plugs to avoid overcharging and save energy.
– Involve the whole household or team to keep the station organized with clear rules.
– Personalize the station with decorations or color-coded cables for a pleasant look.
Conclusion
Creating a charging station is a simple yet impactful way to streamline how you power your devices. By choosing a suitable location, gathering appropriate equipment, organizing cables, and maintaining the space, you’ll enjoy a clutter-free, efficient setup that keeps all your gadgets ready to go. Start with a small area and expand as needed — your devices will thank you!
—
With these steps, you can easily build and maintain a charging station customized to your lifestyle. Enjoy hassle-free charging and a more organized space!